

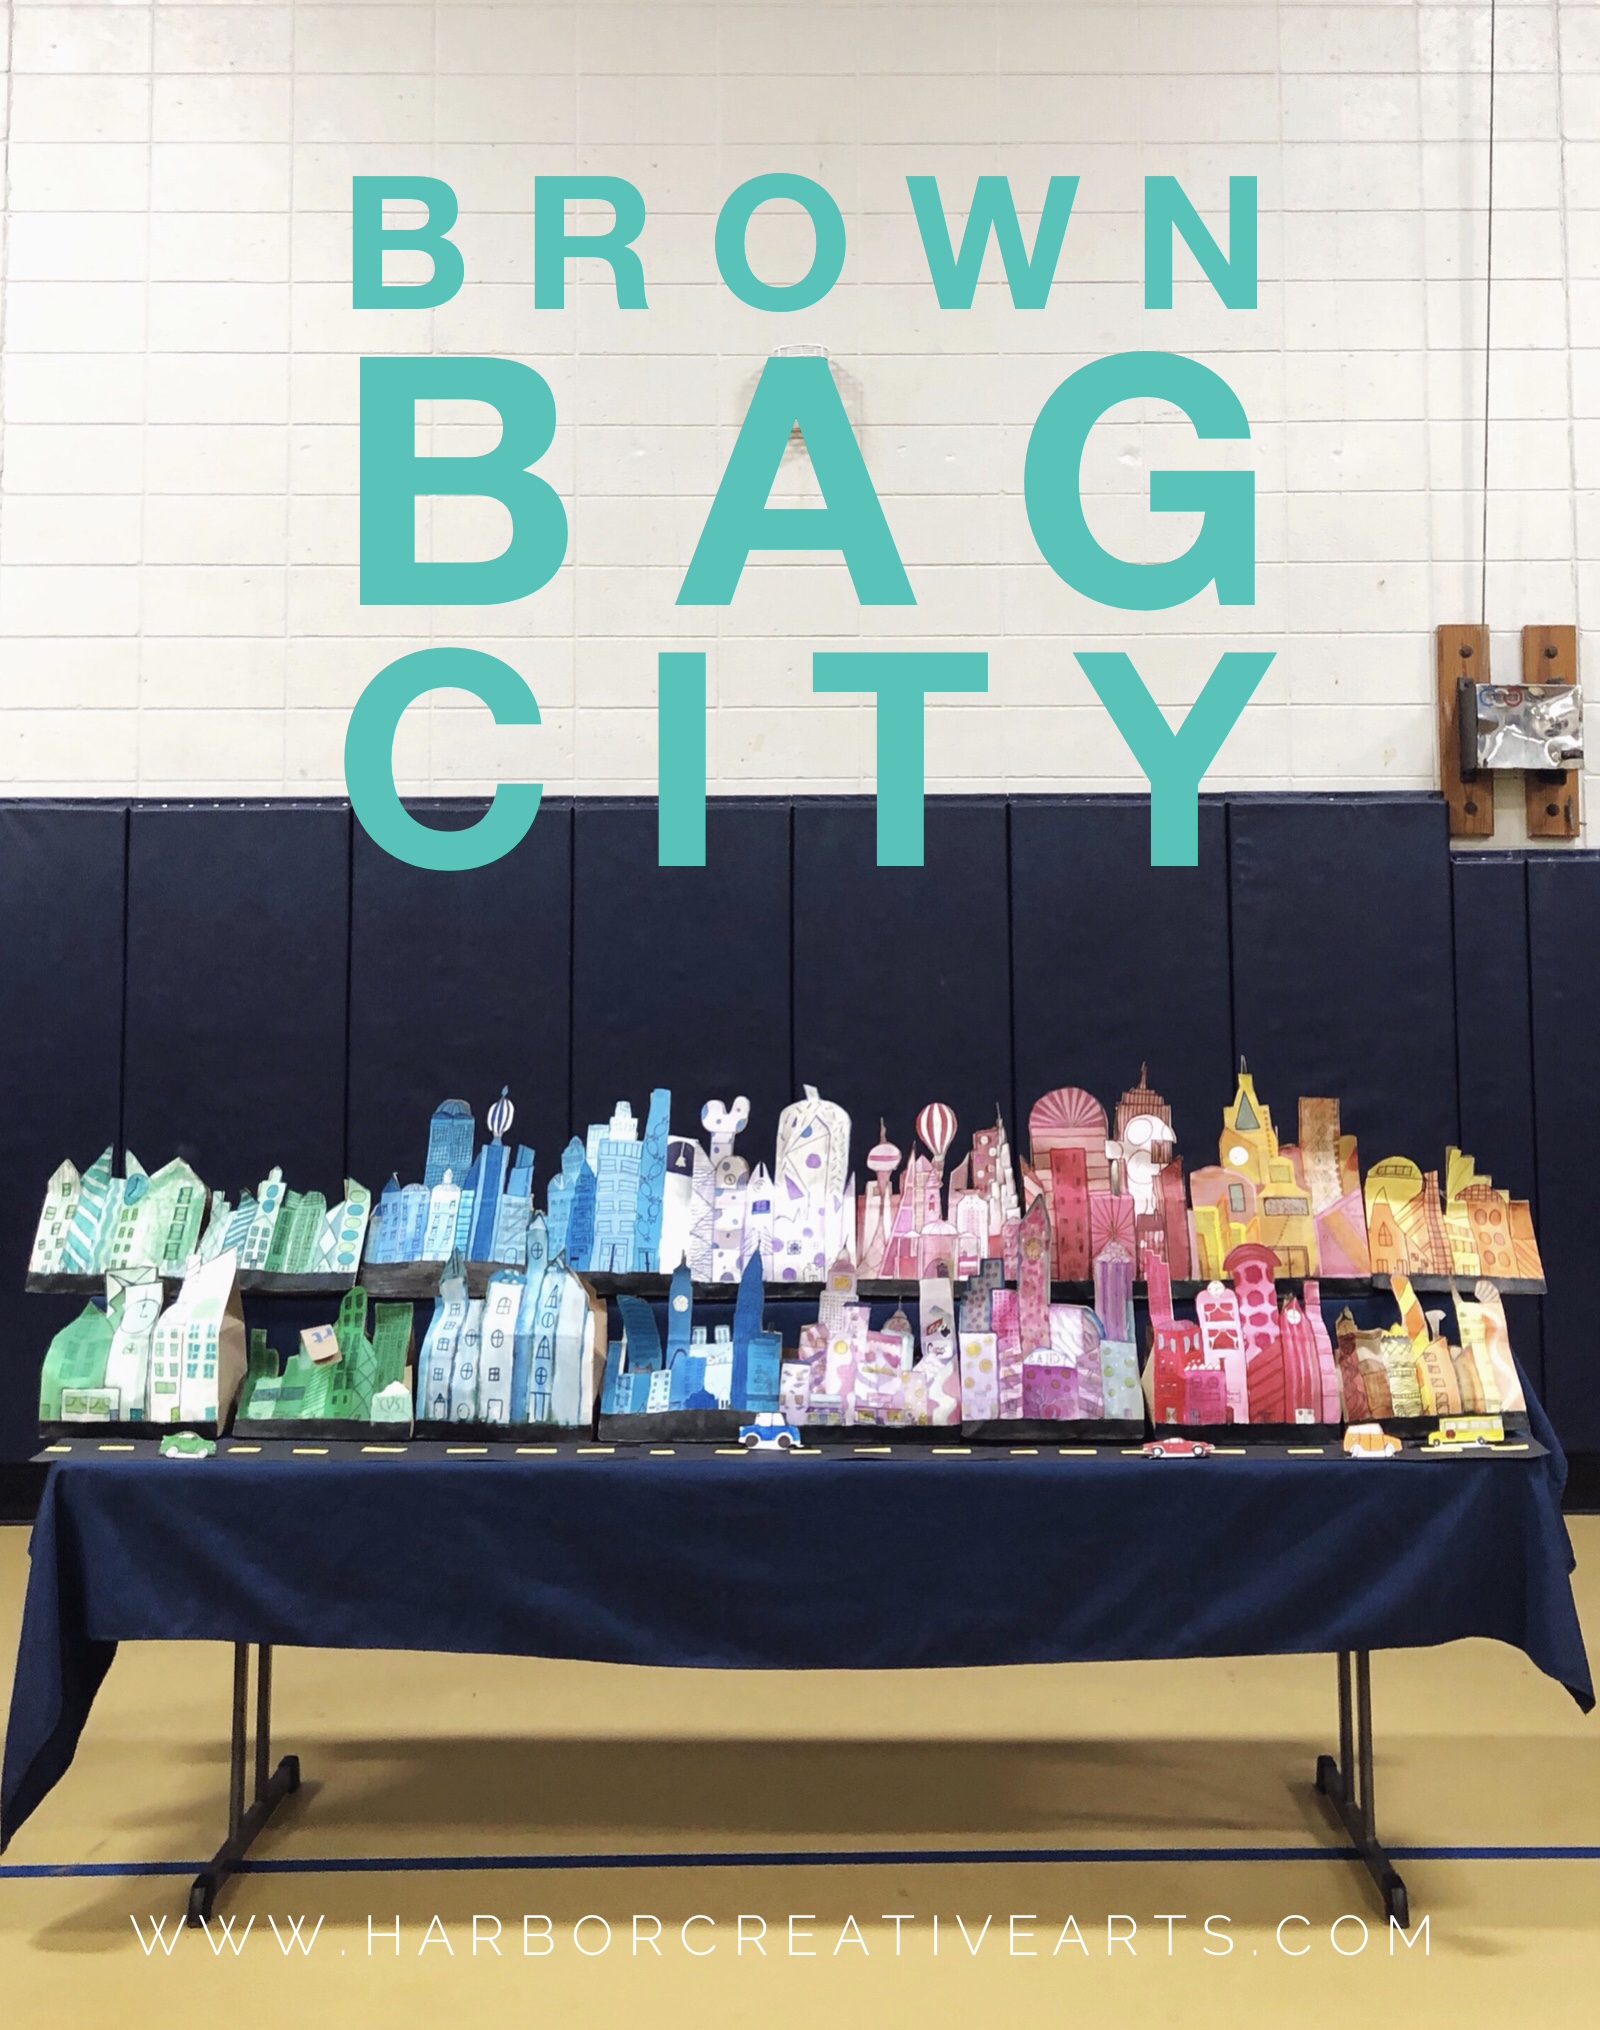
A resourceful, creative way to upcycle grocery bags into a standing sculpture – Brown Bag City!
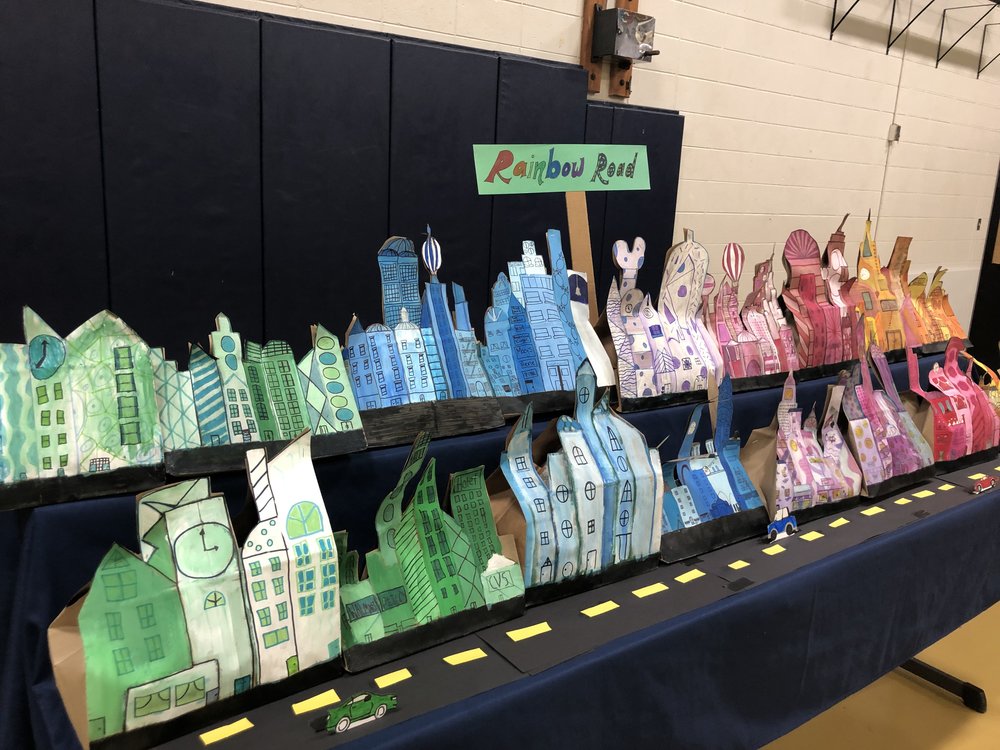
Long ago when I student taught, the teacher I worked with did a lesson where the students turned brown bags into busts of famous portrait paintings. Later, I evolved the standing brown bag sculpture concept into a standing city. I’ve facilitated this lesson with both elementary and middle school students, and also as a professional development workshop for teachers. At one point an entire school hallway housed one long cityscape. This year students were assigned a certain color scheme to work with and in the end we created “Rainbow Road” at our school art show!
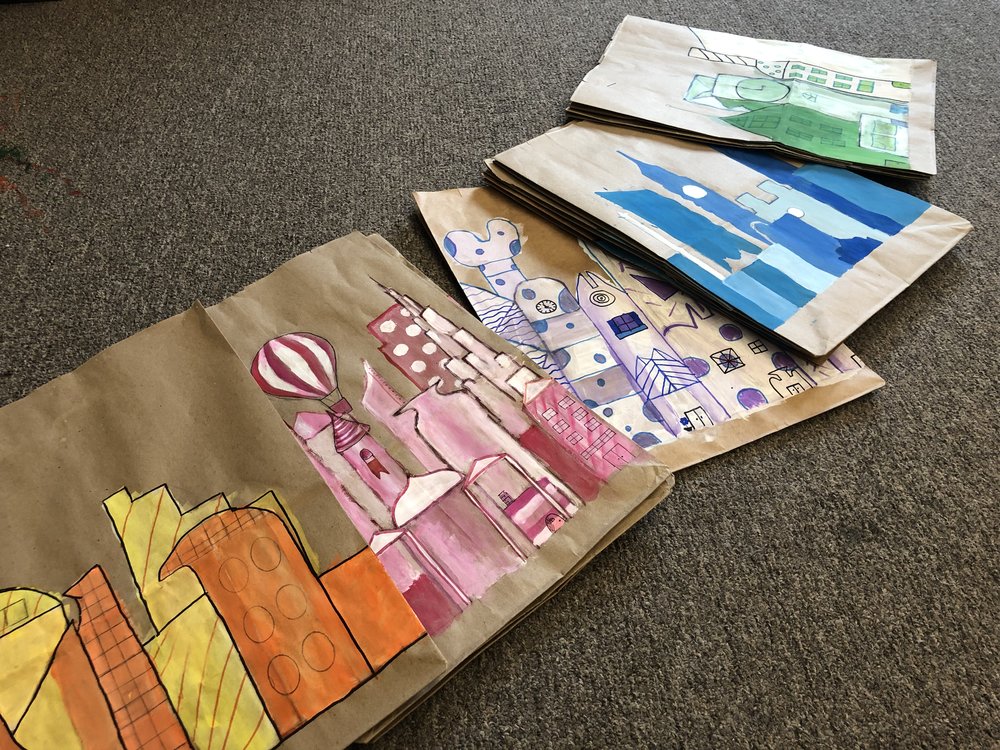

This project can work with tempera paint, markers or collage. I recommend at least one layer of temper paint because it covers well. Then you can draw or glue on top of it with any art material.
For details keep scrolling…
If you are planning to line up more than one brown bag city I recommend leaving a ruler’s width at the bottom to serve as a road. This can be colored in with black marker or you can glue a strip of black paper there. Then the cities all line up and form one long road!
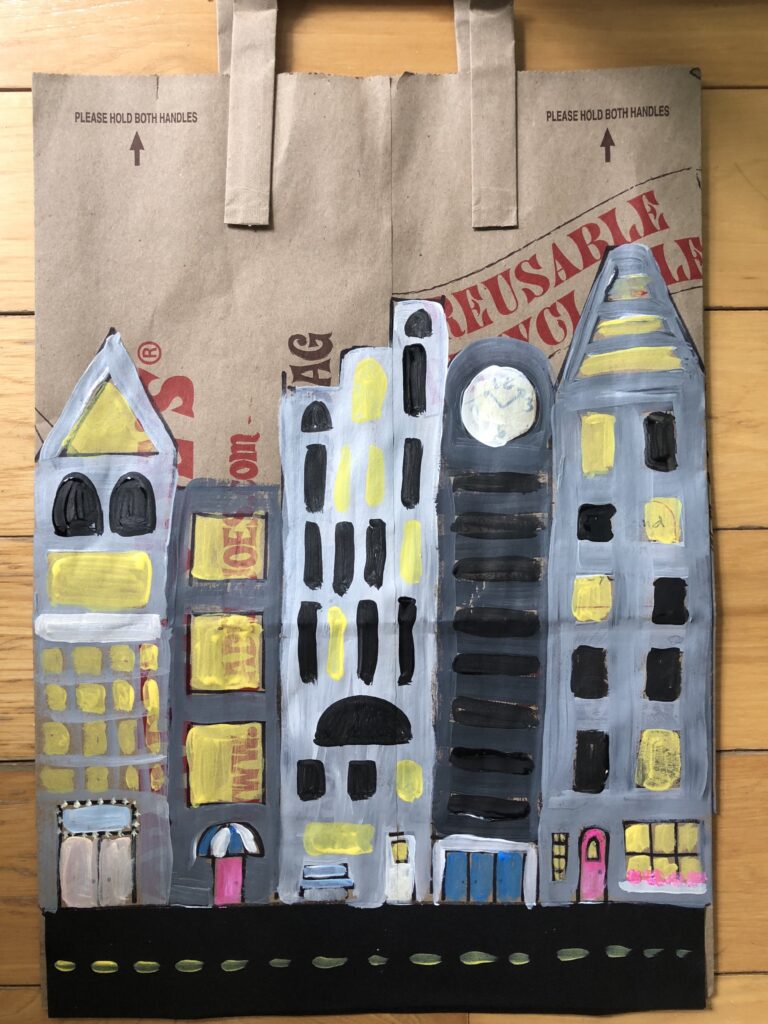
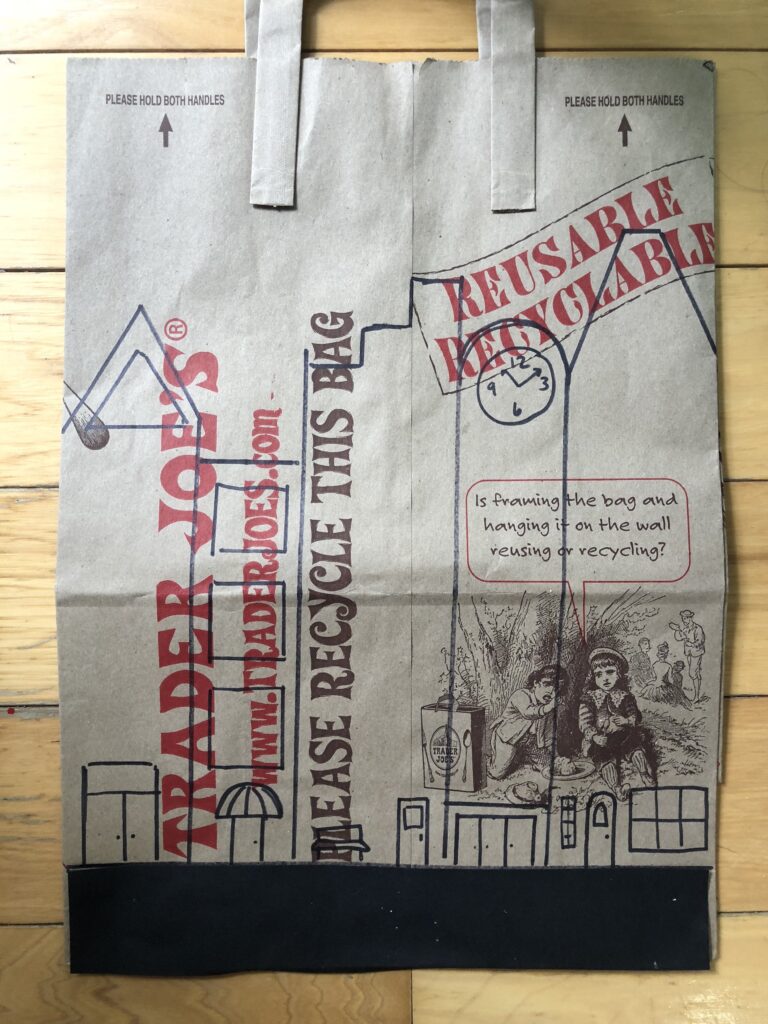
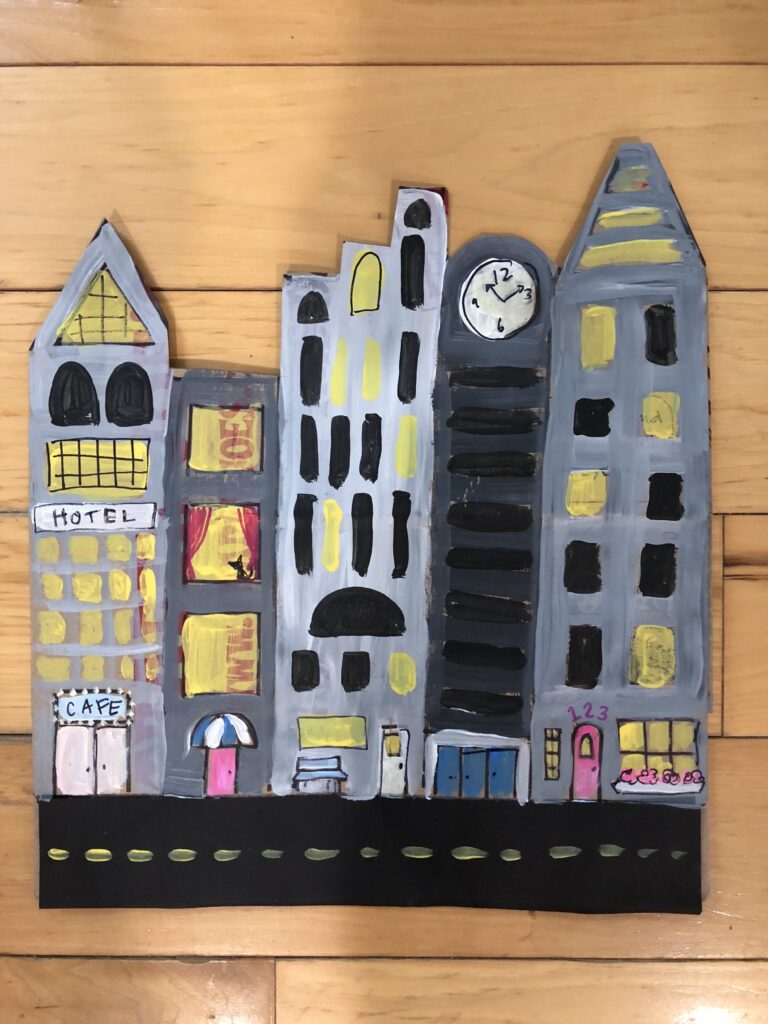
I recommend tracing the building outlines with sharpie first. Then the buildings can be painted in with tempera paint or colored in with marker. (A base layer of tempera followed by marker details when dry works really well!)
Do NOT cut down the side or cut all the way down between buildings. Keep the bag closed flat while you cut through both layers!
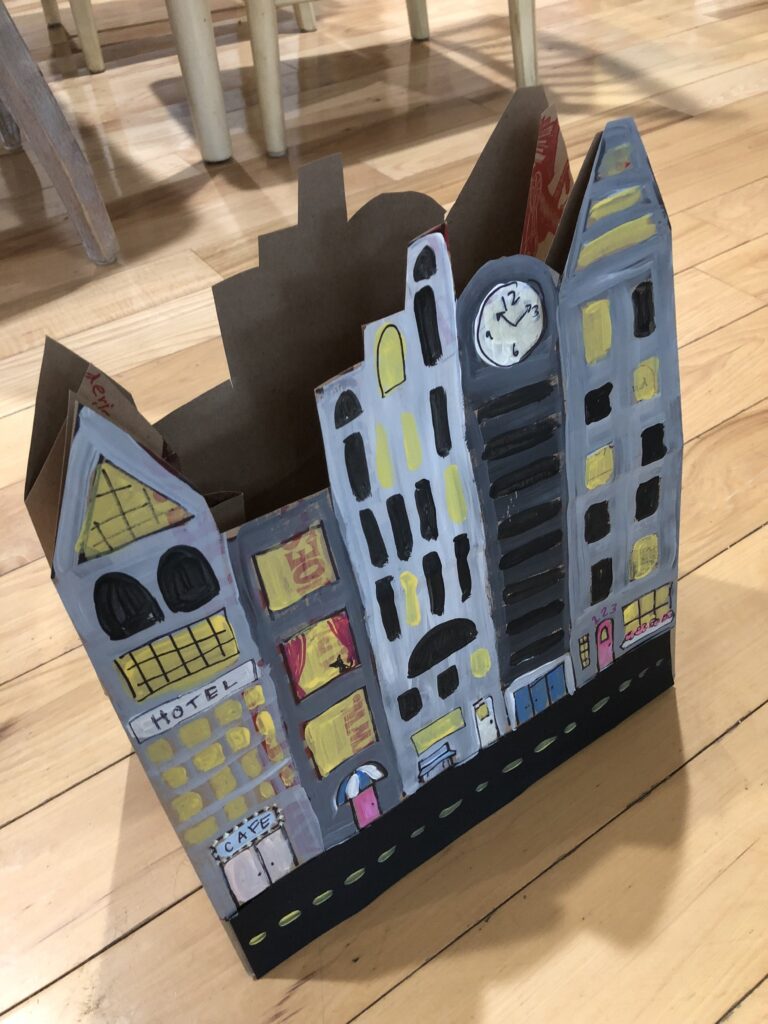
Stand up the bag. LOOSELY crumple up 3 pieces sheets of newspaper (about the size of a softball). Place in the bottom of the bag.
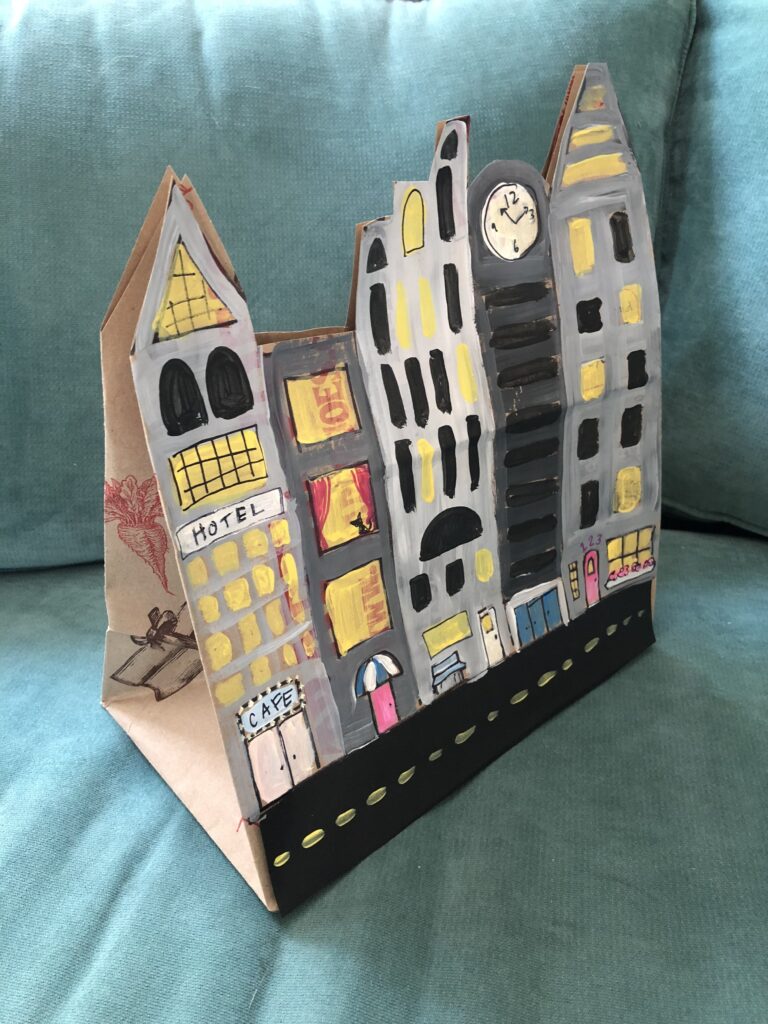
Staple the top edge of the bag. Line up the building cutouts, keeping the sides folded in.


Trackbacks and Pingbacks